Dreaming of sharing your passion online? Learn how to easily create a blog website in 2024 with this beginner-friendly guide. From choosing a platform to your first post, we make creating a blog simple and fun!
Table of Contents
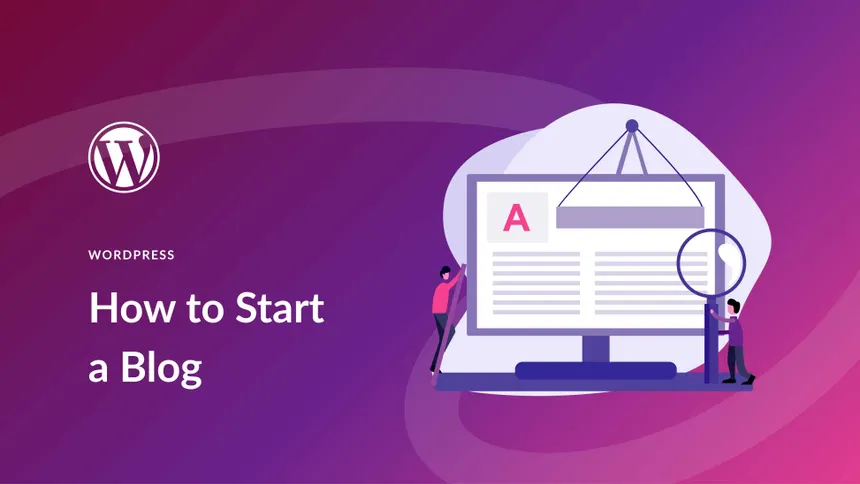
How to Create a Blog in 2024: The Easiest Step-by-Step Guide for Beginners
Ever wanted to share your thoughts, hobbies, or expertise with the world? Creating a blog is the perfect way to do it! Forget complicated coding or expensive setups. In 2024, creating a blog is so straightforward, anyone can do it. Let’s break it down into simple steps to help you create your blog without a fuss.
Step 1: What Will Your Blog Be About? (Your Niche!)
Before you jump into the technical stuff of how to create a blog, think about what you’re passionate about. What topics could you write about regularly without getting bored? This is your “niche.”
- Examples: Cooking healthy recipes, travel tips for budget adventurers, reviewing the latest tech gadgets, sharing parenting hacks, or even documenting your journey learning a new skill.
- Why it matters: A clear niche helps you attract readers who are genuinely interested in what you have to say. It also makes it easier for search engines (like Google) to understand what your blog is about, helping people find your content when they search for ways to create a blog on specific topics.
Step 2: Pick a Name for Your Blog (Your Domain Name)
Your blog needs a name, just like a book needs a title! This will also be your website address (like yourblogname.com). This step is crucial when you create a blog, as it’s how people will remember you.

- Tips for choosing a name:
- Keep it simple: Easy to remember and spell.
- Make it relevant: Does it give people an idea of what your blog is about?
- Check if it’s available: Most website platforms or domain registrars (places where you buy domain names) will let you check if your desired name is free. Aim for a
.comif possible, but other options like.net,.org, or even.blogare great too!
Step 3: Choose Your Blogging Home (Platform & Hosting)
This is where your blog lives on the internet. Think of it like renting an apartment for your website. This is a fundamental decision when you create a blog.
- The Easiest Way: All-in-One Platforms
- WordPress.com, Wix, Squarespace, Blogger: These platforms are fantastic for beginners who want to create a blog quickly. They combine the “platform” (the tools to build your blog) and “hosting” (where your blog lives) into one easy package. You just sign up, pick a template, and start writing!
- Why they’re easy: They have “drag-and-drop” builders, pre-made designs, and handle all the technical behind-the-scenes stuff for you.
- WordPress.org (for more control): If you want ultimate flexibility and control over your blog (and plan to grow it significantly), many experienced bloggers recommend self-hosted WordPress.org. This means you buy “hosting” separately (from companies like Bluehost, HostGator, or SiteGround) and then install WordPress on it. It’s a bit more hands-on but offers tons of power later on, especially for those looking to create a blog with advanced features.
For beginners, we recommend starting with an all-in-one platform like Wix or WordPress.com to keep things super simple when you create a blog.
Step 4: Design Your Blog (Make it Pretty!)
Once you’ve picked your platform and are ready to create a blog, it’s time to make your blog look good! Most platforms offer lots of “themes” or “templates.”
- What’s a theme? It’s a pre-designed look for your blog. You can change colors, fonts, and layouts without any coding.
- Keep it clean: Choose a theme that’s easy to read and navigate. Readers want a smooth experience.
- Mobile-friendly: Make sure your blog looks good on phones and tablets, as many people browse on mobile devices. Most modern themes are “responsive,” meaning they adjust automatically.
Step 5: Write Your First Blog Post!
This is the exciting part after you create a blog – putting content on it! Don’t overthink your first post. Just start writing.
- Think about your audience: What would they find helpful, entertaining, or interesting?
- Craft a catchy title: Something that makes people want to click and read more.
- Use headings and short paragraphs: This makes your content easy to scan and read, especially on mobile.
- Add images: Pictures make your post more engaging and break up text. Make sure you have the right to use them!
- Proofread: Read through your post to catch any typos or grammar mistakes.
Step 6: Get Found (Basic SEO)
“SEO” stands for Search Engine Optimization. It’s about making your blog friendly for search engines like Google so people can find your content when they search. When you create a blog, you want it to be seen!
- Keywords: Think about what words people would type into Google to find information like yours. Try to include these “keywords” naturally in your title, headings, and throughout your post. (Don’t stuff them in though – write for humans first!)
- Good quality content: The best SEO is simply writing helpful, interesting, and original content. Google loves content that truly helps its users.
- Share your blog: Once you publish, share your post on social media! Let your friends, family, and followers know about your new blog.
Step 7: Keep Going!
Creating a blog is just the beginning; blogging is a journey, not a sprint. The most successful blogs are those that consistently publish new and valuable content.
- Consistency is key: Try to set a realistic publishing schedule (e.g., once a week, twice a month).
- Engage with your readers: Respond to comments and build a community around your blog.
- Learn and adapt: Pay attention to what your audience likes and what works for your blog.
And there you have it! How to create a blog in 2024 is surprisingly simple. With a little passion and these easy steps, you’ll be sharing your voice with the world in no time. Ready to create your blog today? Happy blogging!